
We have an elderly relative who, in the coming years, we expect have to keep a closer eye on. It’s not like we don’t have almost daily contact with them already, but having an early heads up of any mobility issues would be beneficial & give a degree of peace of mind.
Having a wifi-enabled camera installed is one option, but would be pretty intrusive, and I don’t want to have to watch it to figure out if there are any problems.
What I realised I needed was a Passive Infrared (PIR) movement sensor which could ping a service in the Cloud & alert me for anything out of the ordinary.
There are such solutions sold by a bunch of companies, but cost upwards of £100 and tend to have a subscription charge.
I started to think I’d roll my own solution using a development board and PIR sensor, but I remembered I actually have an old battery-powered PIR which activates a mains adapter (the idea is you’d maybe have a lamp in the socket for home security).
The adapter I have is from a company called Timeguard, but it’s about 15 years old and is obsolete.. they don’t have any current products of this type, but you can find similar ones on Amazon easily enough.
What I like about this, is that I can concentrate on the IoT piece, and let the adapter + sensor do their thing without worrying about the electronics.
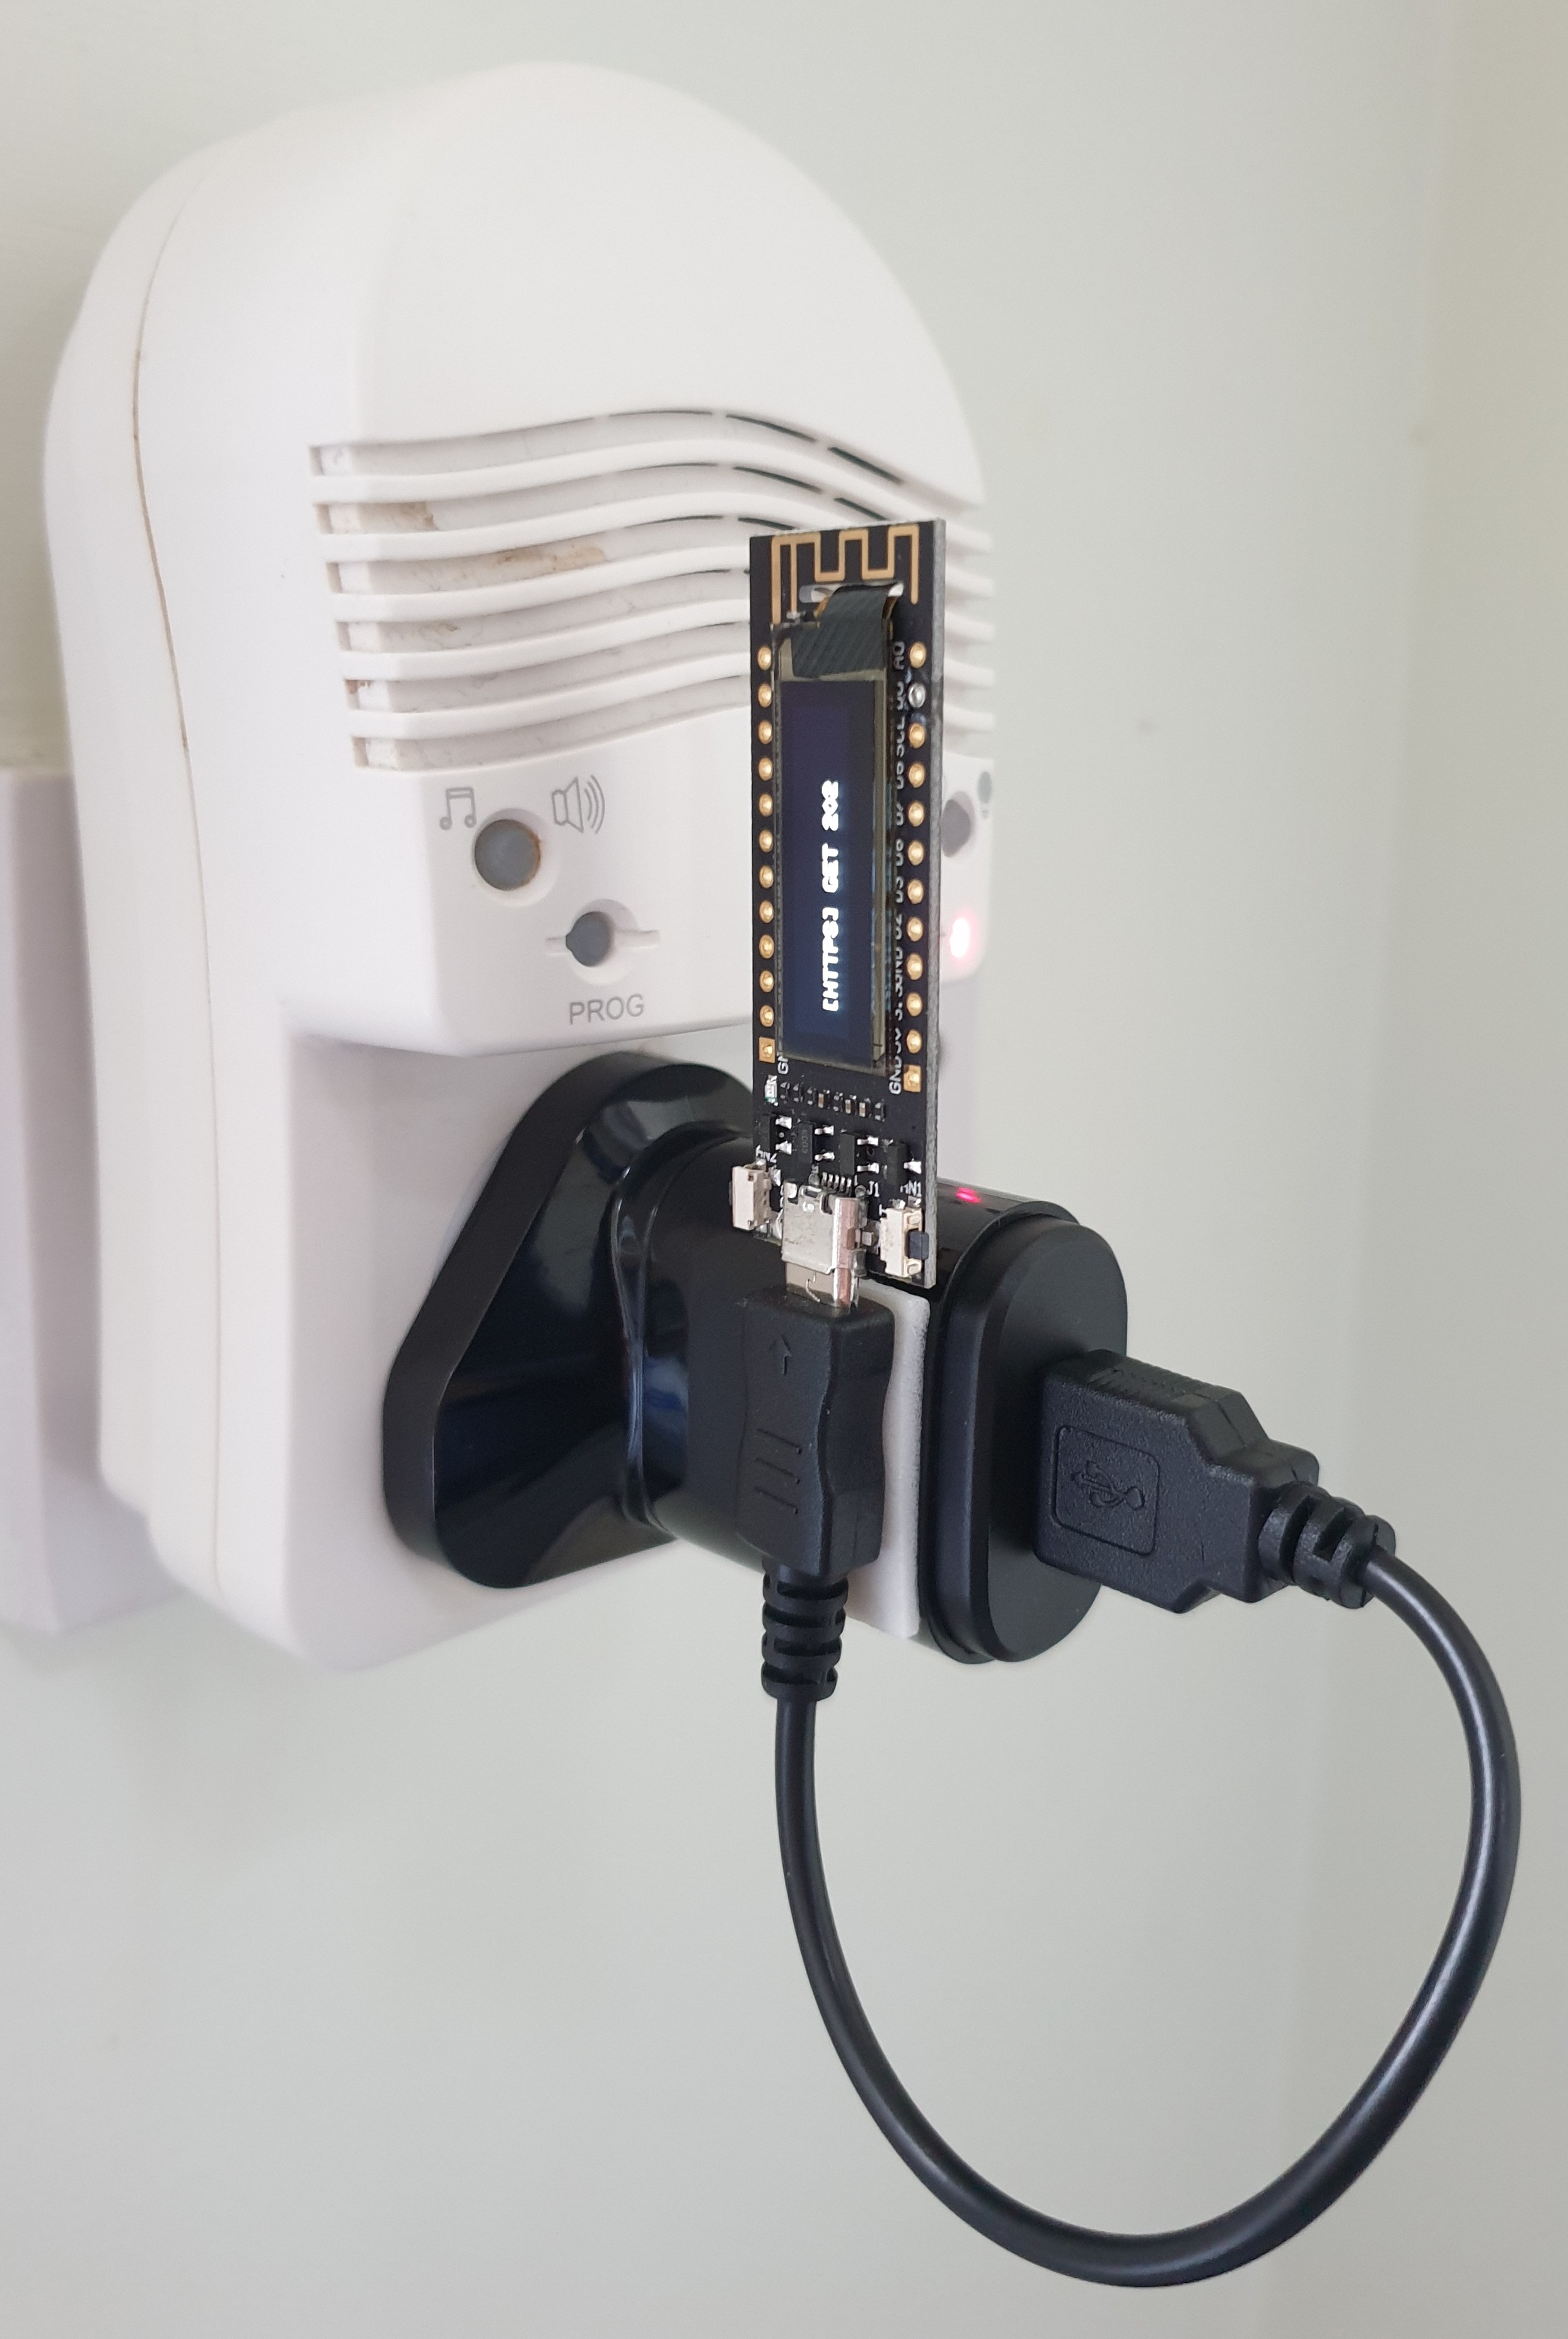
All I needed to do next was take a small ESP8266 board I had lying around and code it up to connect to the local wifi & call a URL.. which in my case will be an Azure Logic App. Logic Apps are great.. you can get them up and running very easily, at minimal cost, and without writing any code!
At first, the code for the ESP8266 just used the examples from the Arduino IDE. In very little time I had it connected to Wi-Fi and ready to make a HTTP call to wherever I wanted. However, I soon discovered the examples only worked with non-HTTPS sites (Logic Apps are HTTPS-only).
After a bunch of Googling, I found this library from gojimmypi on GitHub, which allows you to make HTTPS calls.
After switching to that & rewriting portions of the code, the board called the Logic App URL without issues and I received a 202 response (Accepted), and I could see the call in History;

Now we’re cooking! The motion sensor will activate the power adapter, which boots up the ESP8266 board, connects to wifi & calls Azure. The adapter will stay powered for 15s to 15min.. so having it set to 15 minutes means we’re not repeatedly powering the board & calling Azure (and incurring a load of cost).
The Logic App can do whatever we want to record the event.. update a table, or write a small text file with a timestamp.
Now we have that, we can have a secondary Logic App running on a schedule to monitor the events & alert us by email (or whatever) if it falls outside what we typically expect. For example, at 9am check that there’s been motion detected in the last 3 hours. If there hasn’t, send me an email so I can give the relative a quick call to check they’re ok.
With Azure, it’s always good to keep an eye on costs. In this case, lets look at the worst case scenario where we have a very active elderly relative who trips the motion sensor every 15 minutes from 7am to 11pm.. so that’s 16hrs x 4 = 64 possible calls a day.
Logic Apps cost you per Action block, and cost a bit more for Standard + Premium actions. In our case we have 1 trigger block and 1 standard block to write to a Storage Account (table or file).
The Azure cost calculator can then be used to figure out the monthly cost..

That’s a maximum of 21 pence (GBP) a month if it triggers every 15 min (which it won’t).. not bad!
We’ll also have the ‘event monitor’ Logic App, but that won’t run as often.. maybe every 4 hours starting at 9am, finishing at 9pm.. so that’s 4 times a day, with a few more action blocks in it to figure out what to do.. so maybe 10-15 blocks, 5 of which might be ‘Standard’…

As you can see, the monthly costs are minimal, and helps illustrate how useful Azure can be for something like this!
It took a few hours to put this all together & I’m pretty happy with the solution. We can put the battery-powered PIR sensor in somewhere like the kitchen, or hallway and be safe in the knowledge we’d get an alert if there wasn’t the level of activity we’d typically expect to see.
If you’re interested in the ESP8266 source, here it is;
